Irrigation Is In! A Little Behind-the-Scenes Peek
This project was a whirlwind of waiting, working, waiting, and wondering. I had no idea it would take me so long to complete the micro-irrigation grant through the NRCS (Natural Resources Conservation Service), but I’m relieved to have it finished—and proud of myself for learning new skills and working through it with patience and perseverance.

A big pile of blue-prints from the irrigation specialists outlined the system and provided a parts list to get me started.

They even included detailed diagrams of particular parts, like the pump set up. From my past experiences, some aspects of the blue-prints made more sense than others and I had a few phone calls with the irrigation specialists to clarify the instructions and modify the plan a bit to better meet my needs.

Installing solar panels was definitely new to me - I spent a few weeks paying extra attention to the sun in the garden to choose the best spot to install the panels while still being in proximity to the pump and (hopefully) not in the way of regular farm work.
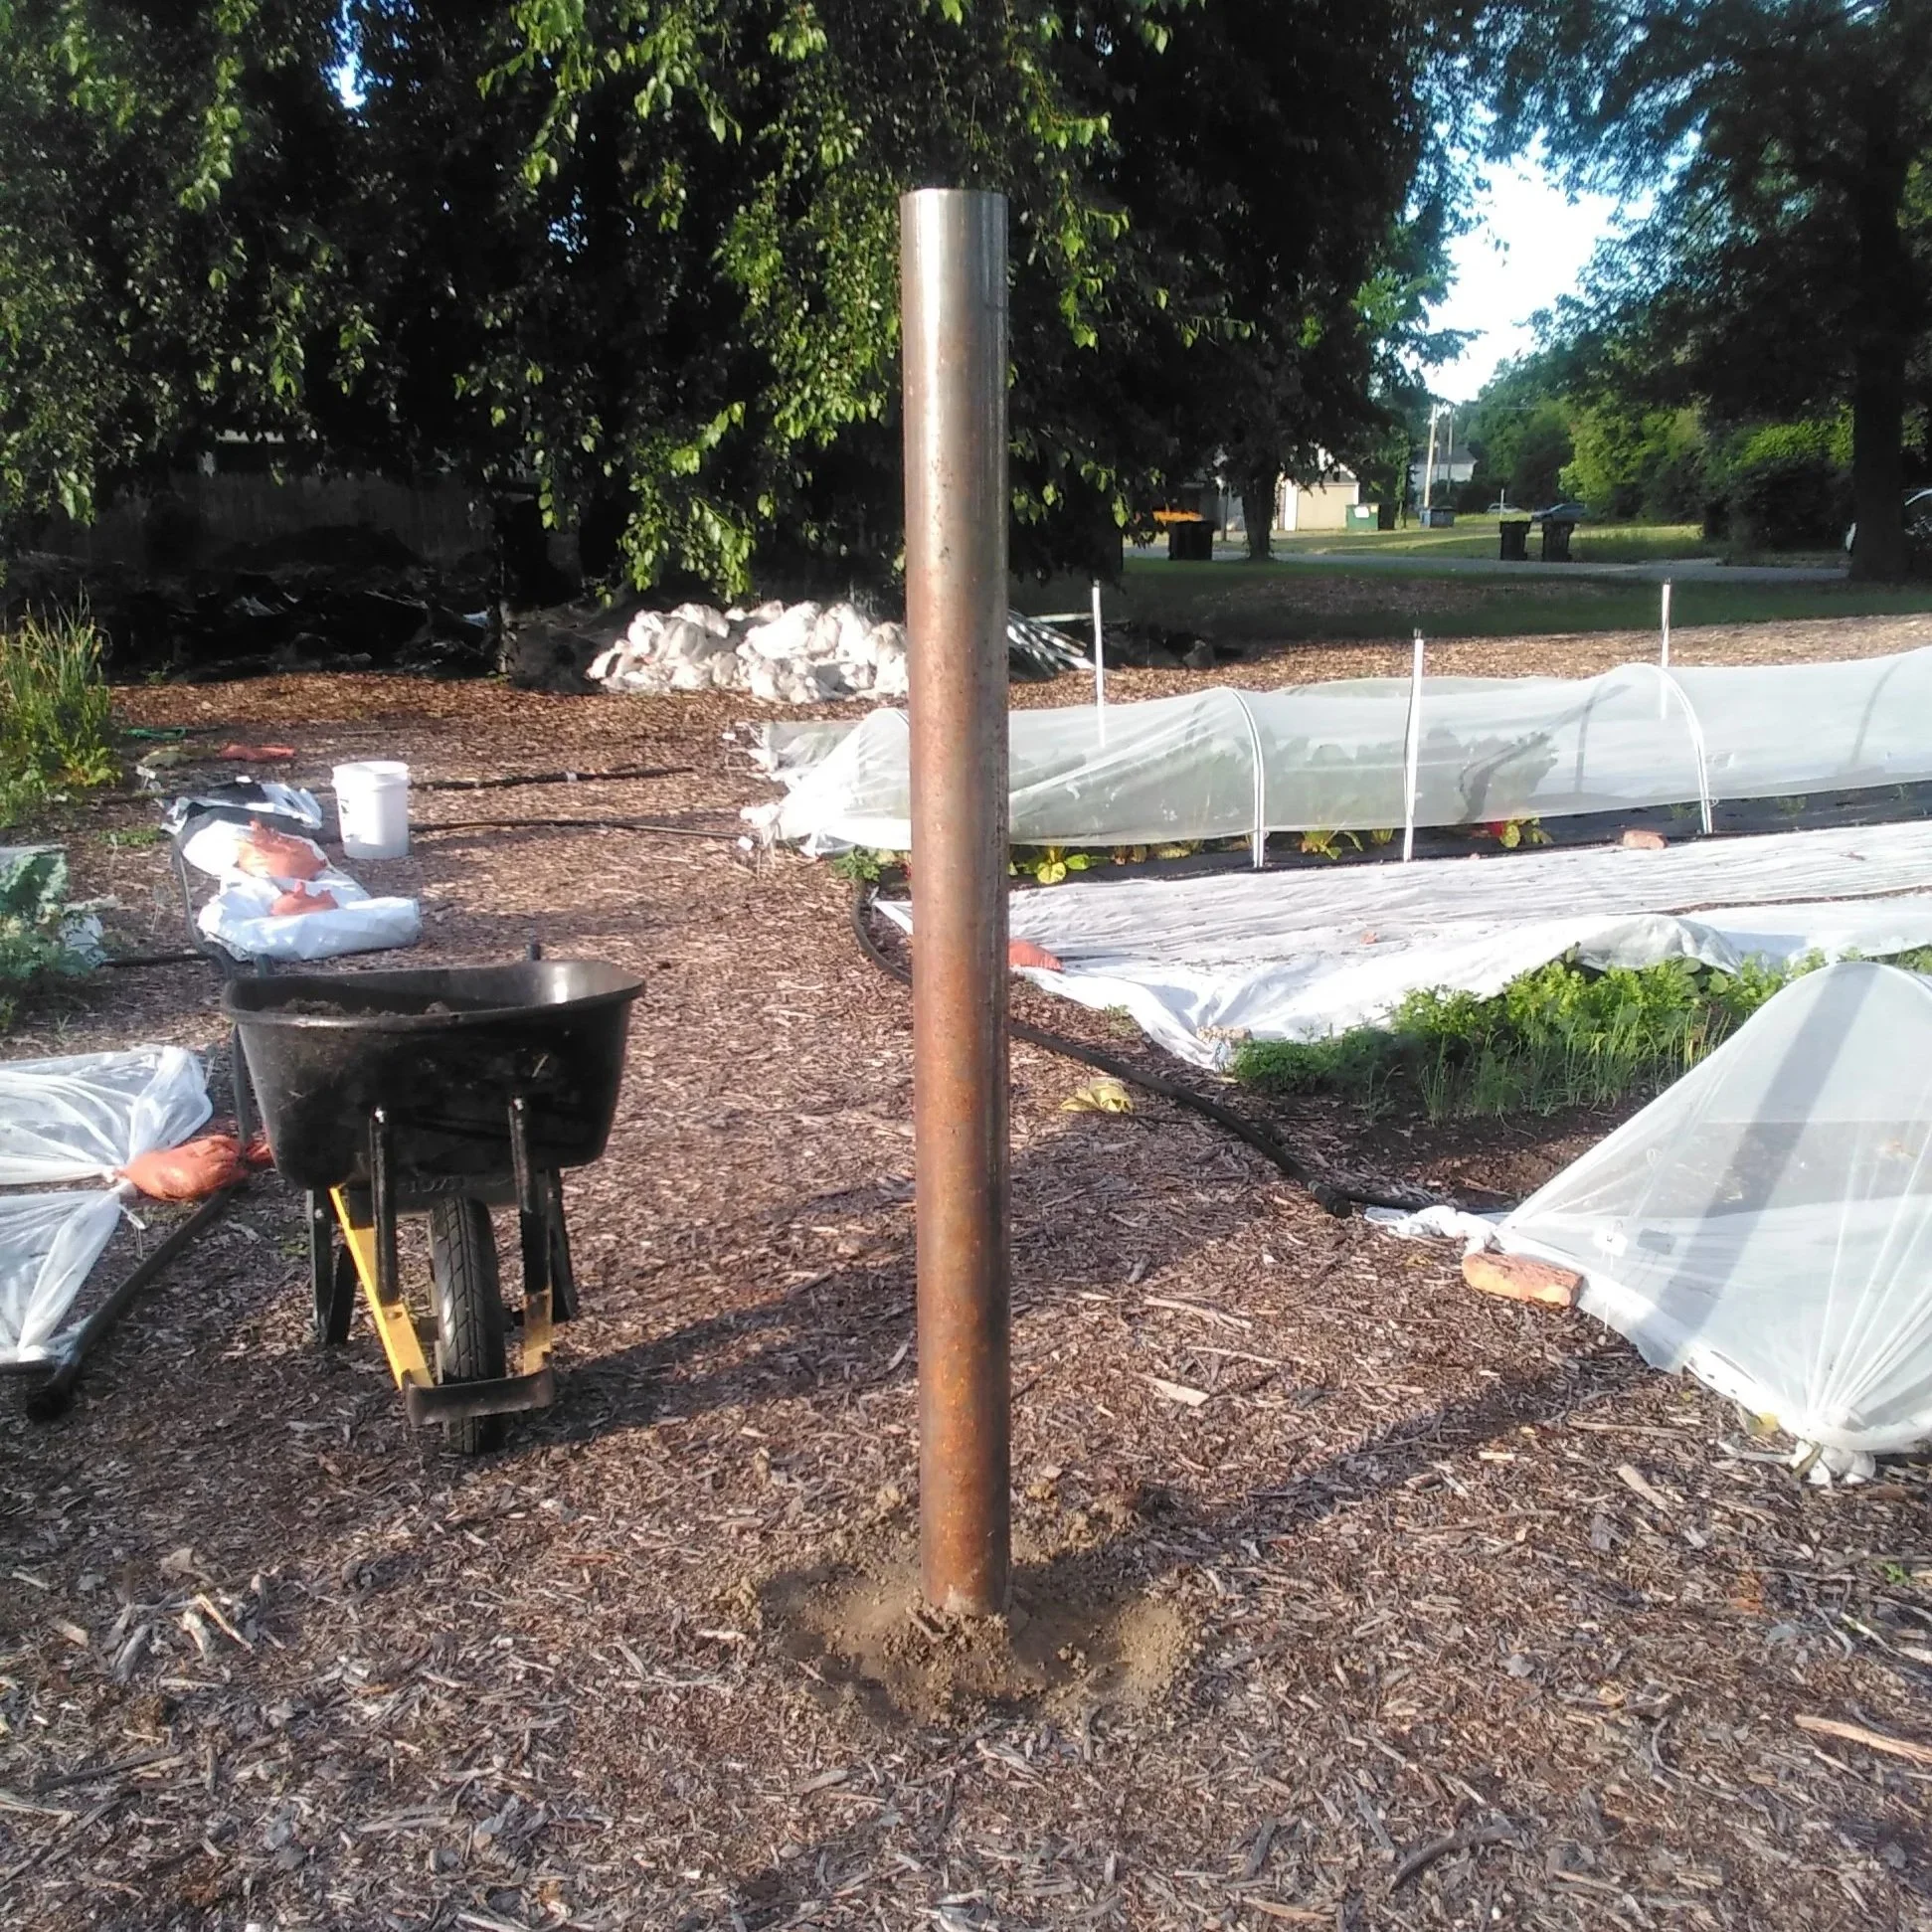
While a lot of parts to the solar pump came in a kit from Rural Power Systems, I sourced the mounting pole locally from Metal Supermarket in Mishawaka. What a fun adventure it was to get that home in the minivan! And, yes, it is cemented deep into the ground :)

I got a lot of help from my son, Chris, with the solar panel installation. We kept the panels covered while we were hooking them up so no electicity would run through the system while we were connecting the wires.

The blue-prints called for four irrigation zones. I used tee’s and valves to seperate and isolate the zones. The black and white pieces are pressure regulators that bring the water pressure down to 20 psi before hitting the sprinkler laterals.
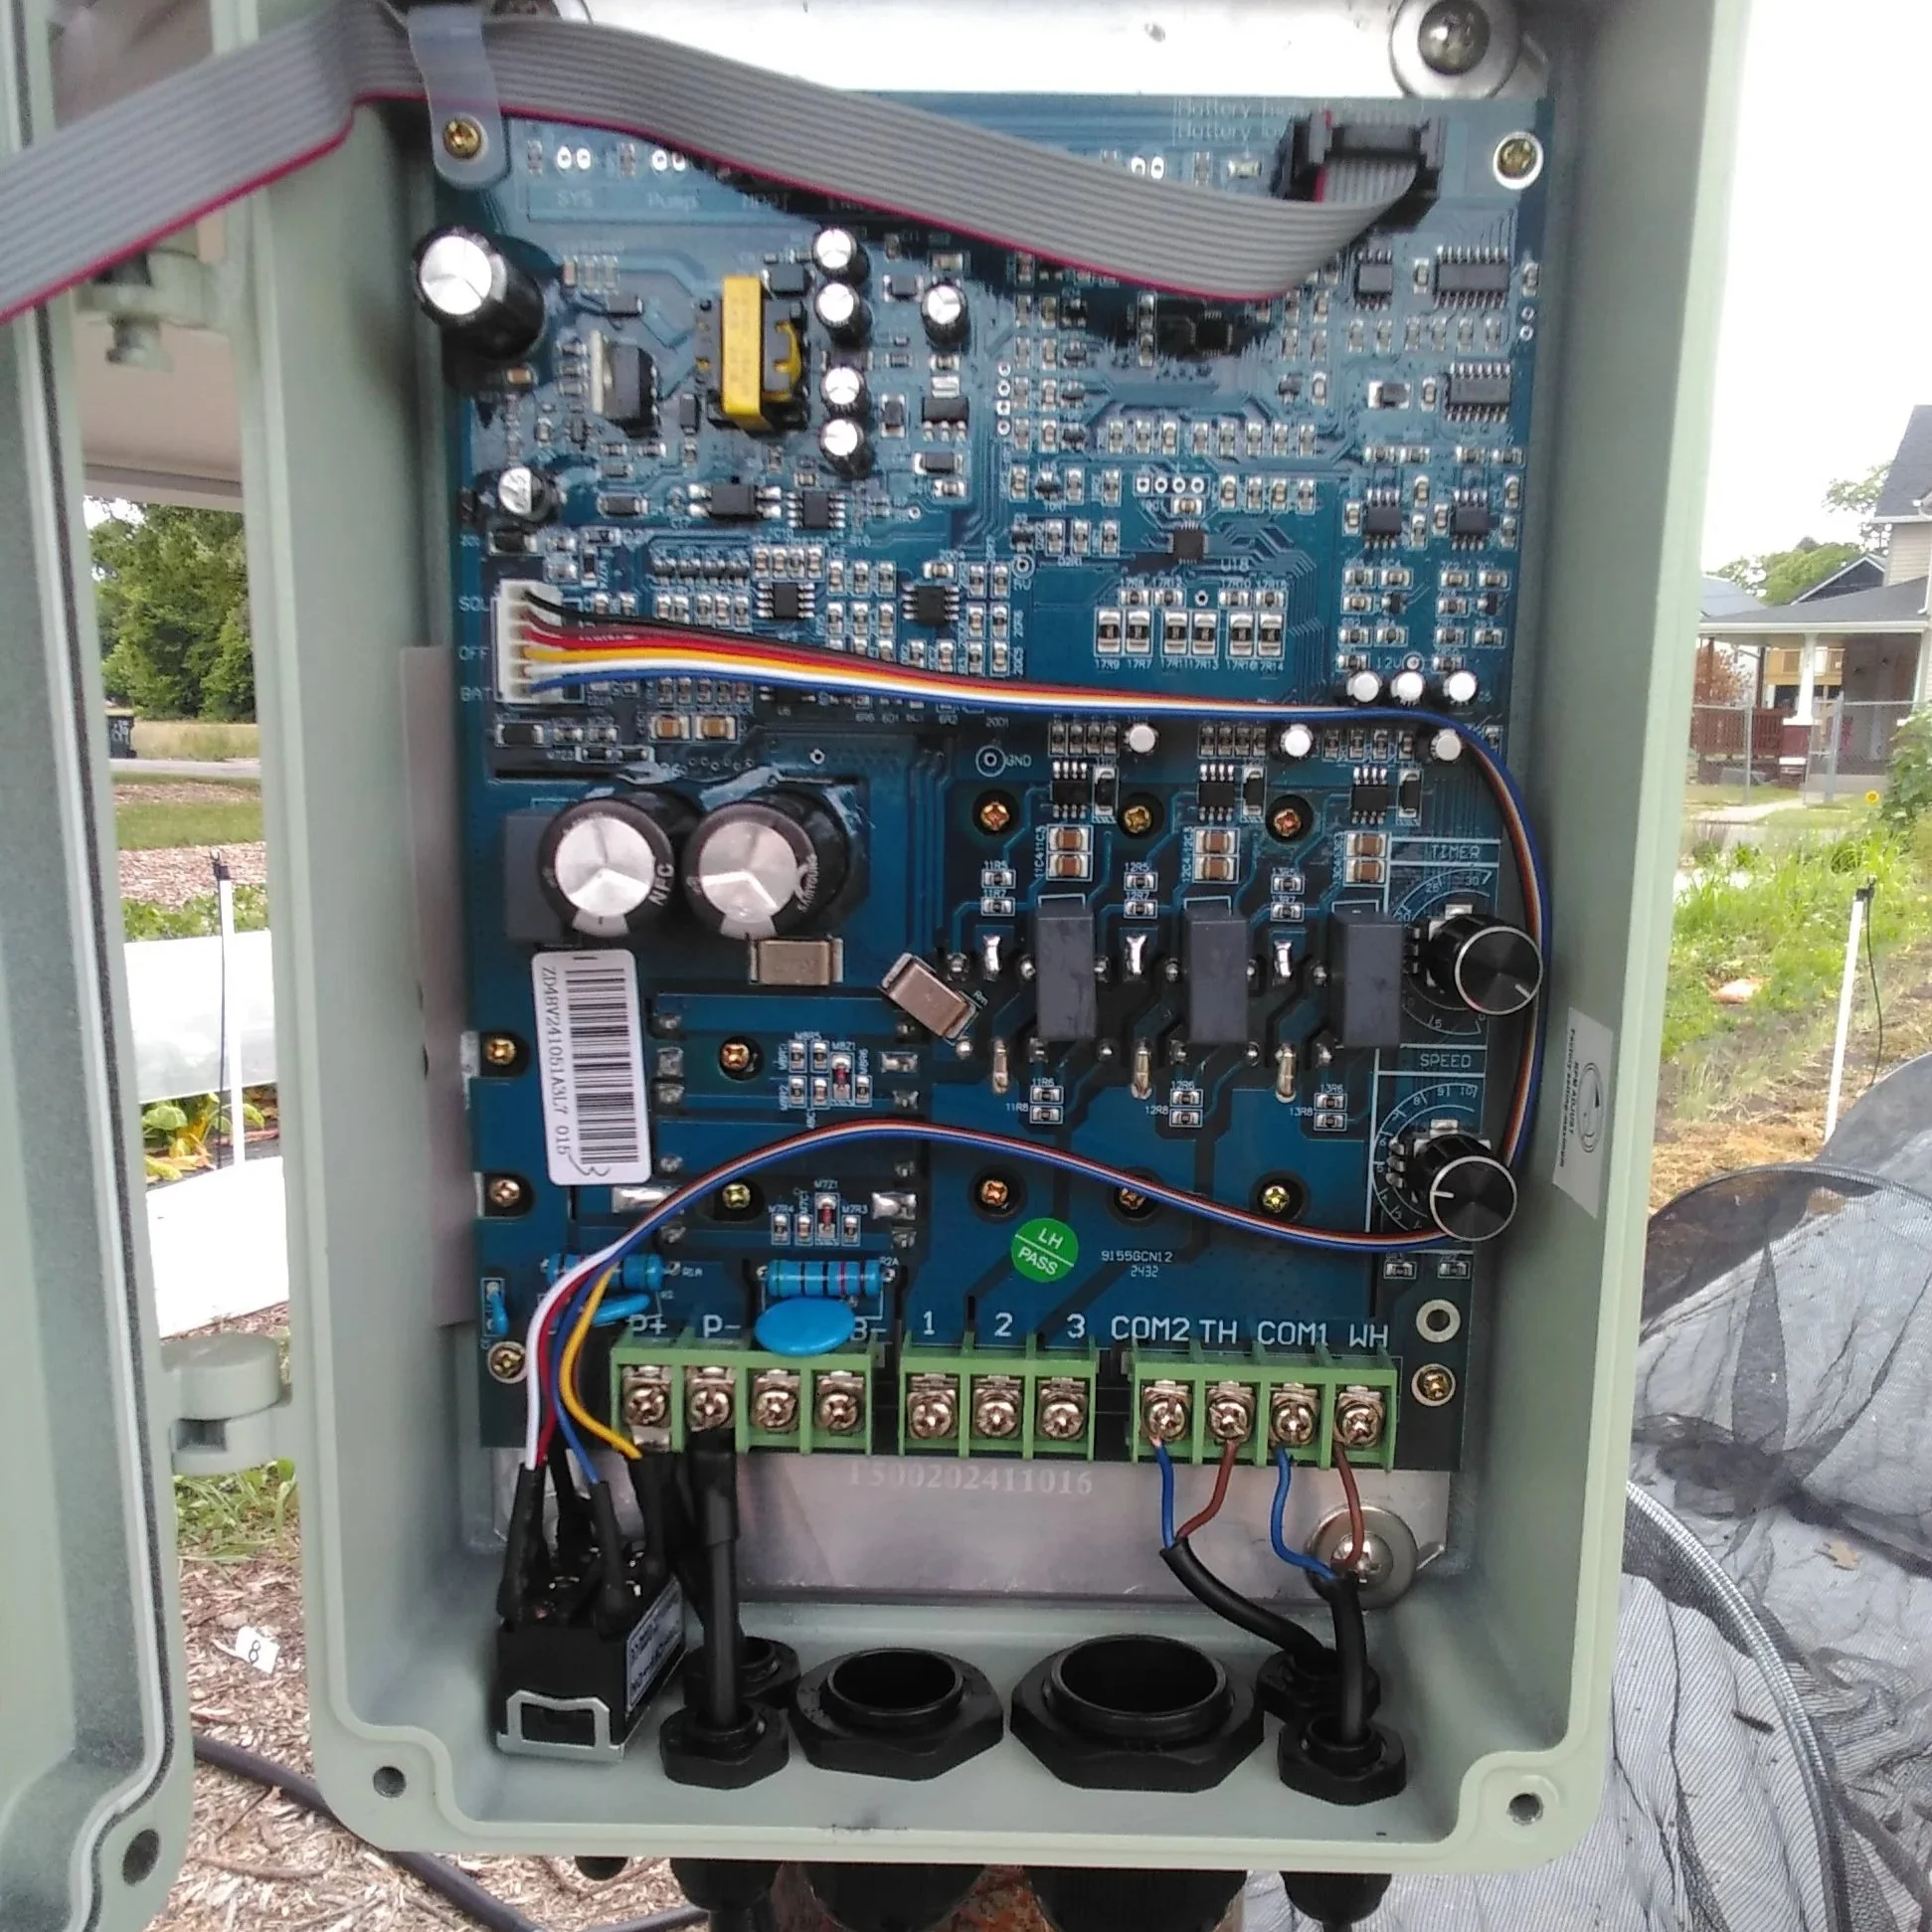
This is a peak inside the control panel from Rural Power Systems. This is where I hooked up the solar panels to the water pump, low water sensor (for the tank) and pressure switch (so the pump automatically turns off if there is too much pressure in the system).

Setting up the whole system was a learning curve for me and Chris. We read the instruction manual over and over again, making sure we were getting it right.

Chris and I settled on a solar tilt of 20 degrees. Optimally it would be 18 degrees at summer solstice and 22 degrees in the winter, so 20 degrees seemed like a good comprimise for most of the growing season. So far it seems to be producing adequate power.

This is the small but mighty water pump. The gray box above it is the automatic pressure switch that turns off the system if too much pressure builds up in the water line.

I had to wait a very long time for the water tank to arrive from Texas. When it finally got to the local hub, it was too big for a box truck, but the shipping company didn’t think they could get a flat bed around the turns on our city streets, so they managed to barely fit it into a semi to get here.

Getting it off the truck was easier than this picture makes it look. The driver was awesome about easing it onto the liftgate and lowering it down to the ground (with some assistance from us below).

Once it was off the truck, we rolled it from the road onto the farm - that was the fun part.

We eased the tank into place in it’s perfect spot under the mulberry tree. This tank holds 2000 gallons of water! And, yes, it is huge.

Here it is, all hooked up and ready to go. Yay!

Water running through the wobblers on pvc risers create a gentle spray for the plants. So great to have this up and running!